Guide
Create AI Mind Map
Sign up or login to your account and try to generate an AI mind map with MindOnMap AI mind map maker. Everyone has 1000 free credits for AI generation now.
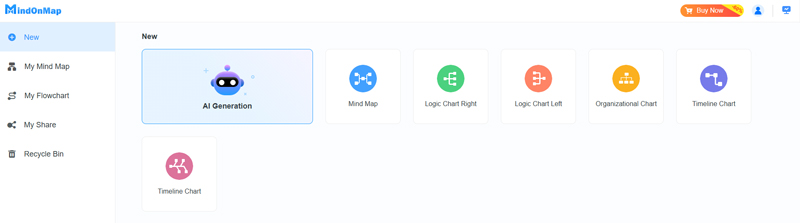
1Choose AI Generation in the New section.
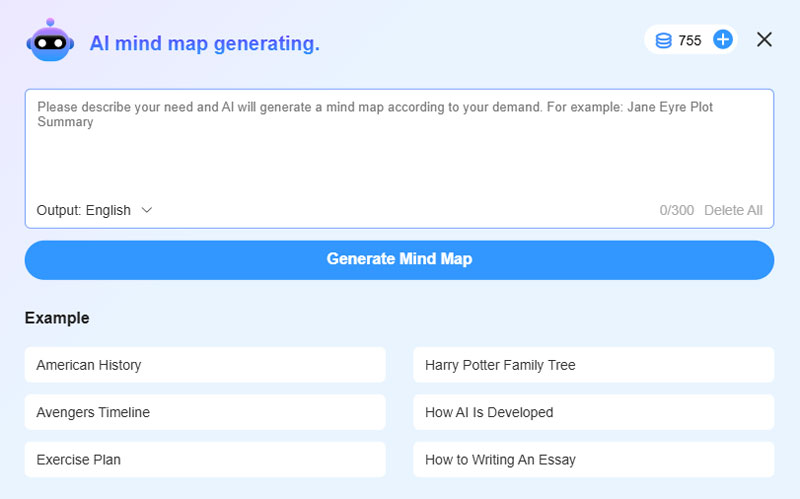
2Input the center topic of your mind map. It can be a concept, a plan, a project, etc. You can choose the output language before you start. Here are also some examples for you if you want to try. Then, click Generate Mind Map and wait for the AI mind map.
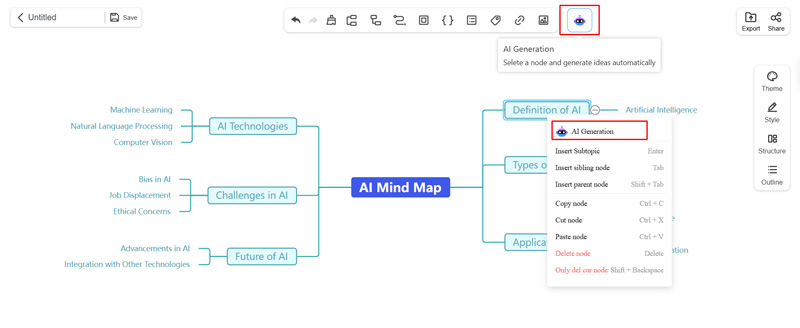
3The AI mind map will finish in several seconds, then you can edit the result. If you want to expand a node with AI, you can click the node and use AI Generation on the top bar and right-click menu.
Add topic
After the login, you can create your own mind map. Adding topics is the basic step.
Create new
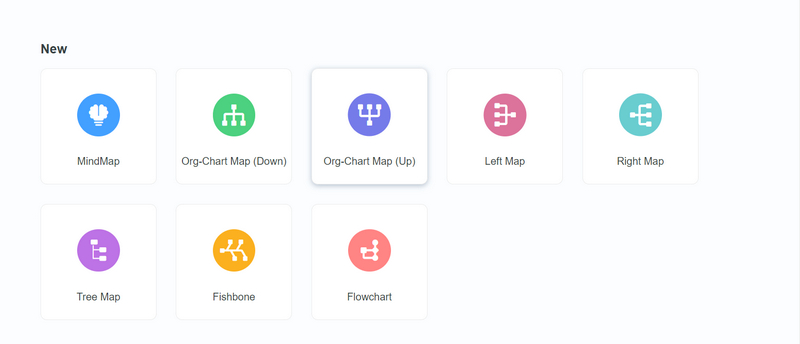
1Choose New from the left panel and you can choose the template you want, including the common Mindmap, Organizational Chart, Logic Chart, Timeline Chart, etc.
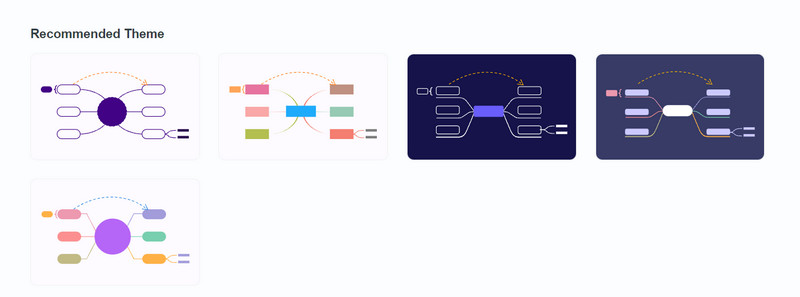
2In the Recommended Theme, you can choose the favorite one and get the exact same pattern. Then you can adjust the content and structure as you need.
Insert topic
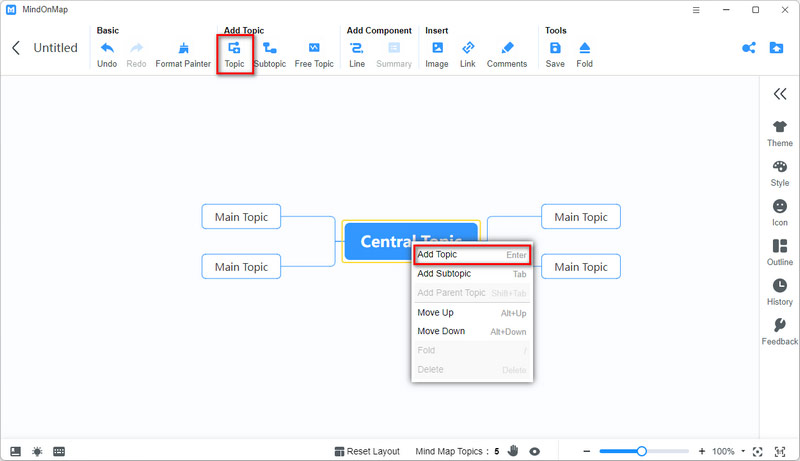
1To add sibling topics, you can easily press enter on your keyboard. Or you can right-click your mouse and choose Insert sibling node from the list popping up. In addition, you can click Topic from the top tool bar.
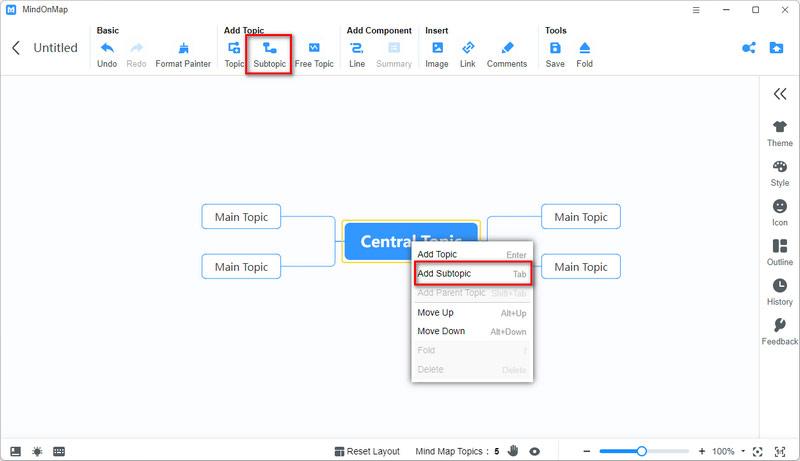
2To add subtopics, just follow the similar procedures which are included in the sibling topic part. Right-click and select Insert Subtopic. Or click Subtopic from the top tool bar.
Edit topic
After finishing the main structure, you can move on editing it with features MindOnMap provides you with.
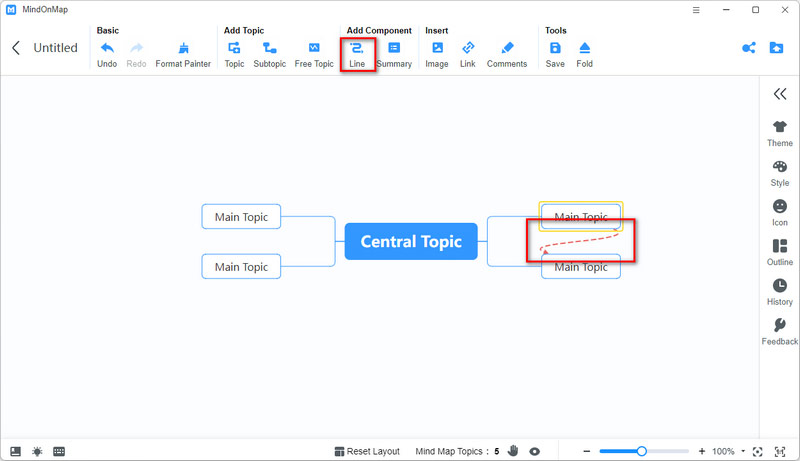
Line
Select one of the topics which you want to add a relation line to. Then click Relationship from the toolbar. Point to the topic which is related to the previously selected topic. In addition, you can adjust its shape by dragging it.
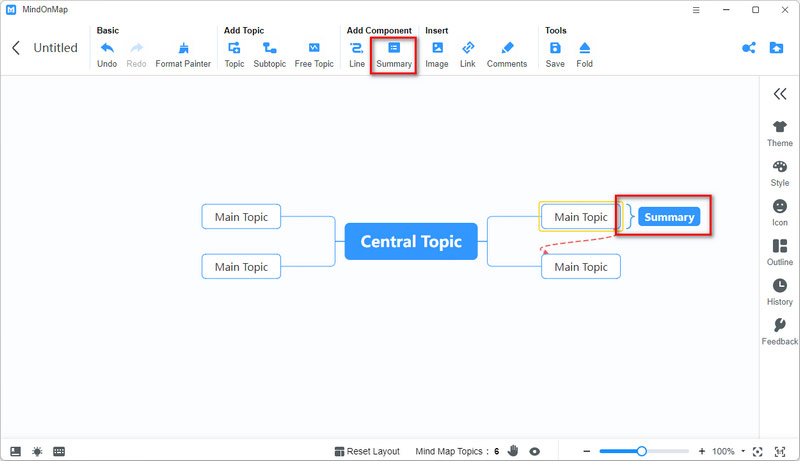
Summary
Click Summary from the top tool bar and you can summarize the part you select to make it more clear.
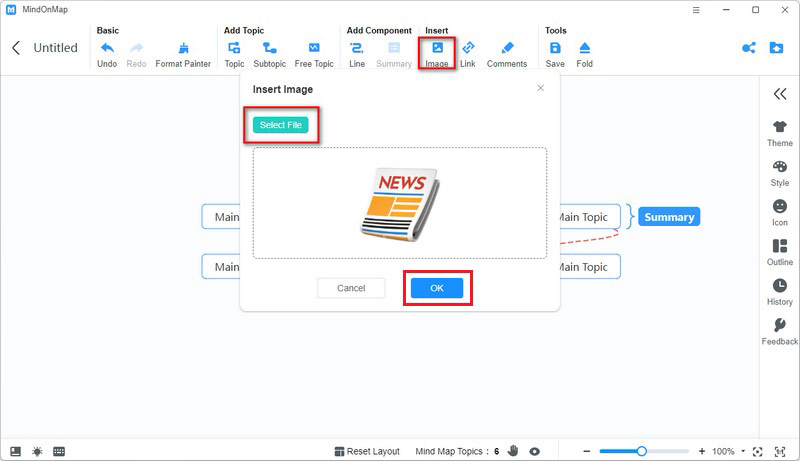
Image
Select the topic in which you want to insert an image. Click Image from the top toolbar and choose the image file you want to insert. Then, you’ll see the image in the topic.
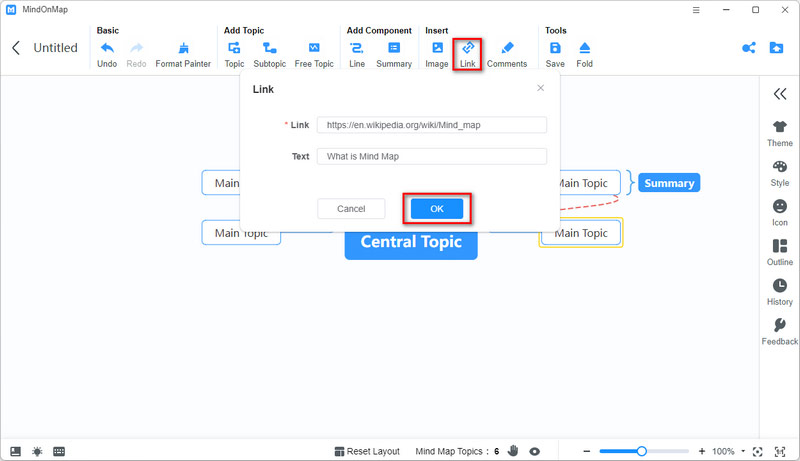
Link
Quite similar to the image inserting, inserting links is easy to handle. Click Hyperlink next to Image. Then finish the Link Href and the corresponding Name.
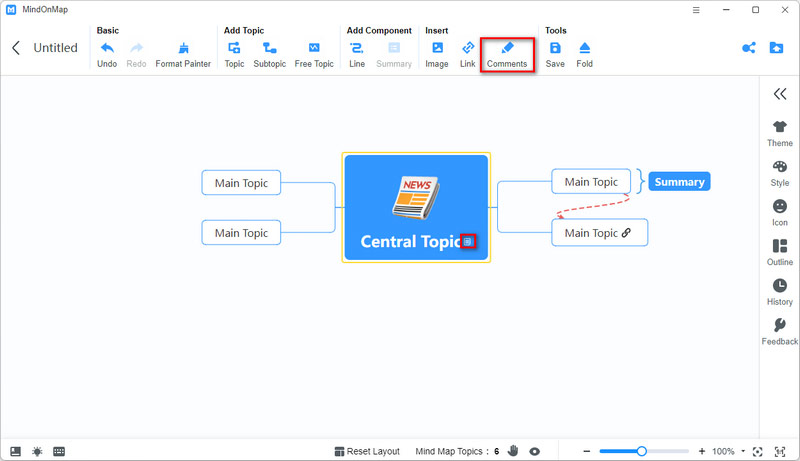
Comment
Choose Comment from the tool bar and click Add comments. Type your comments and click OK. Then you’ll see a text shape in the topic. When you navigate to the shape, you can see the complete comments.
Change style
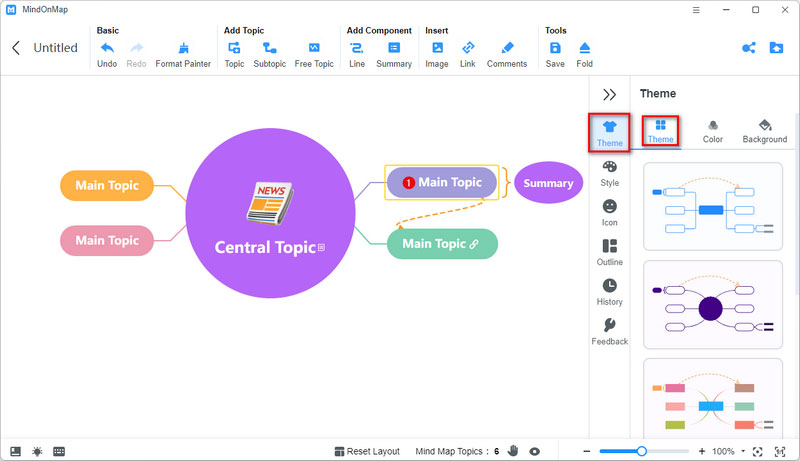
Theme
1In the right toolbar, select Theme and you’ll see multiple themes for your choice. Click your favorite one, and the current one will be overwritten.
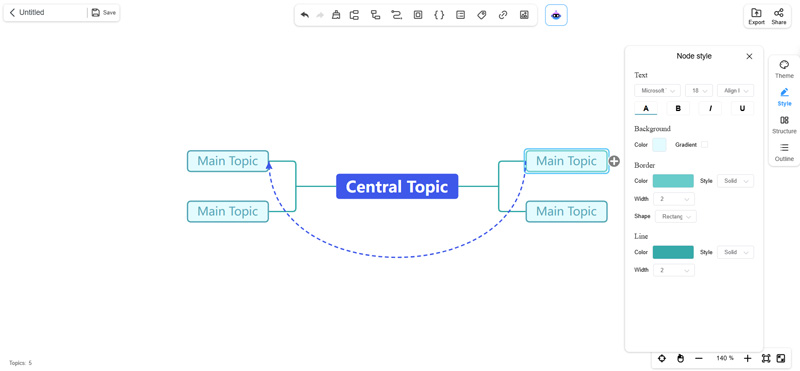
Style
Navigate to the Style option. Here, you can edit the topic style.
Under the Topic option, you can change the Color, Font, Line Color, etc. of the selected topic.
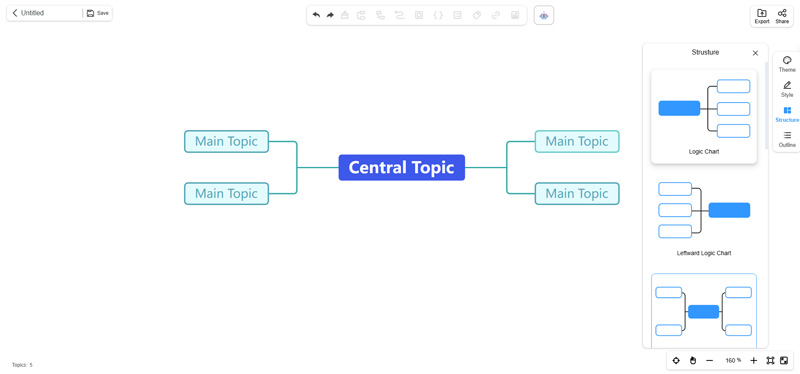
Structure
During the mind map editing, you can still change the connection way. Just choose the appropriate template in Structure.
Share & Export
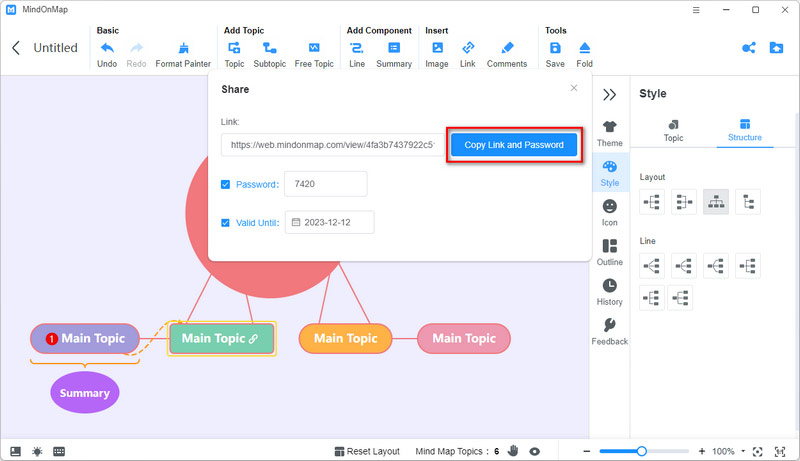
1After all editing is done, you can click Share in the top-right corner. Check the box of Password and you can change it yourself. The Valid date is also on your decision. Then click Copy Link and Password and share the link with others.
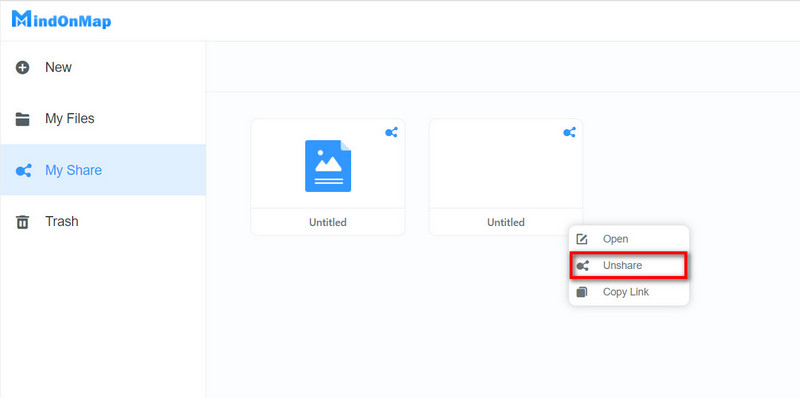
You can see the shared files in My Share. Select Unshare and others won’t access your mind map through the previous link.
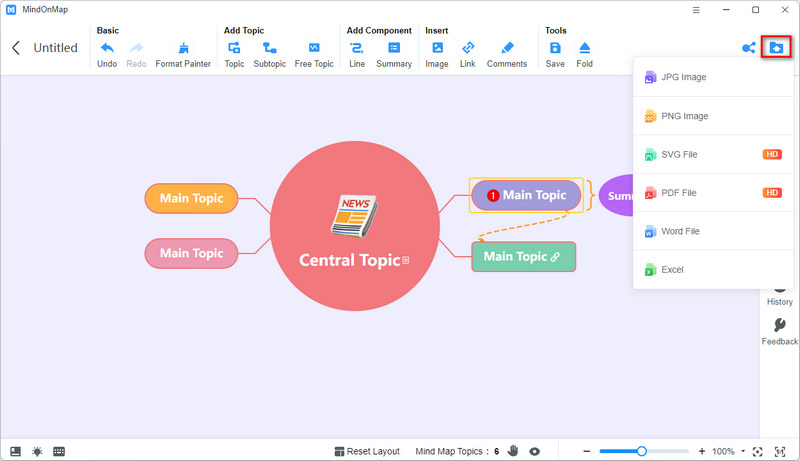
2The export feature is powerful. You can export the finished mind map as JPG, PNG, Word, PDF, etc. with high quality.
Others
Outline
In the right tool section, you can see the Outline of your mind map structure.

How to Use the Flowchart Function
If you want to make a more professional mind map or diagram, you can use the Flowchart function by clicking the Flowchart button.
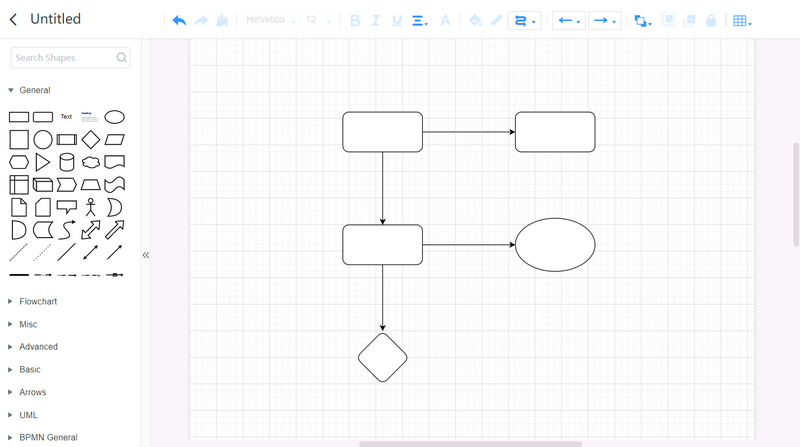
Add shape
1After entering the Flowchart function, you can unfold the left panel and select a shape you need to add to the canvas by dragging and dropping the shape.
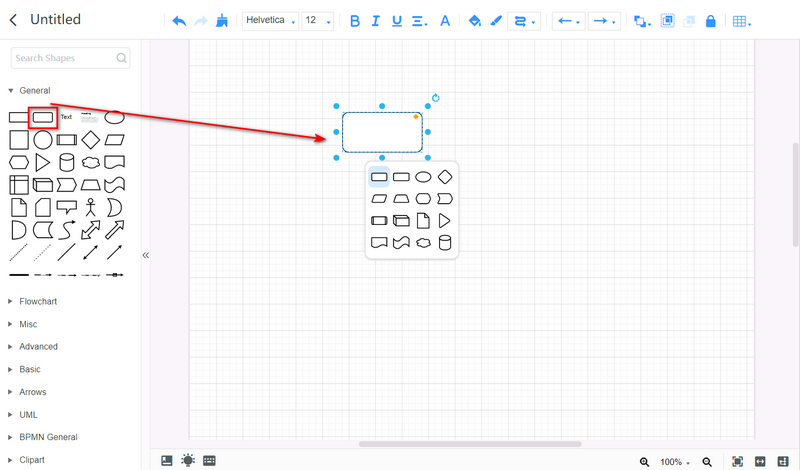
2If you need to add more shapes and build connections between shapes, you can use your mouse to select the existing shape and move your mouse out of the shape till there is a plus sign around your cursor. Then you can click the plus sign and select the shape you want to add.
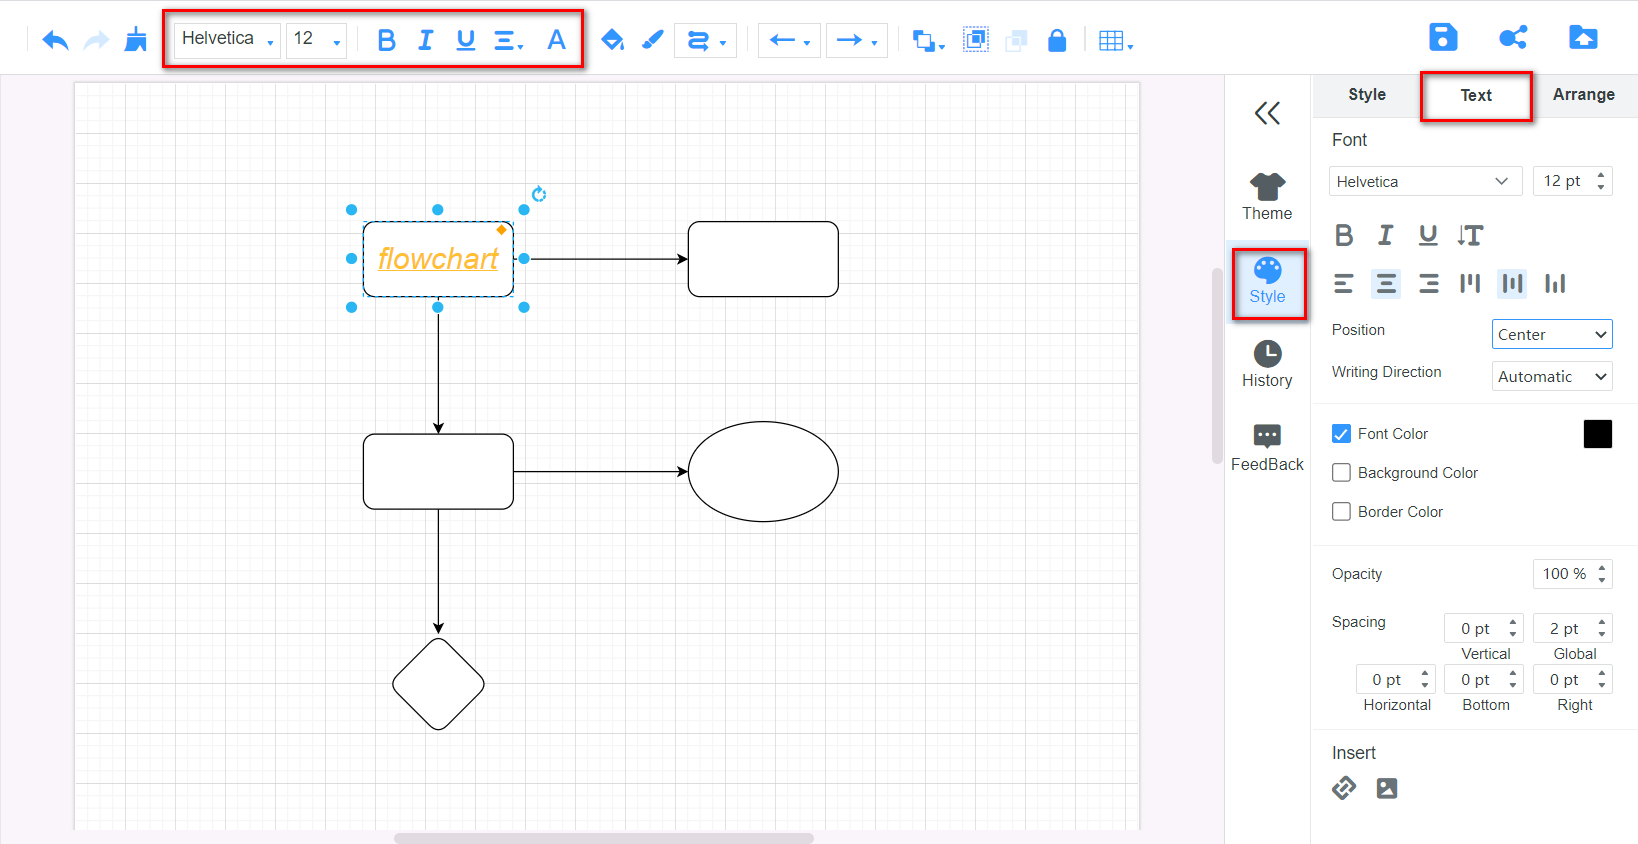
Edit shape
After adding shapes, you can input the text by double-clicking the shape. Next, you can select the tool on the top bar to change your text font, color, size, and alignment way. You also can make your text bold and italic. To do more editing on your text, like changing the text’s position and opacity, etc., you can go to Style > Text.
If you want to make your mind map or flowchart more colorful, you can fill color into shapes. To do that, please select the shape you want to edit, click the Fill Color icon on the top bar, select the color, and click the Apply button.
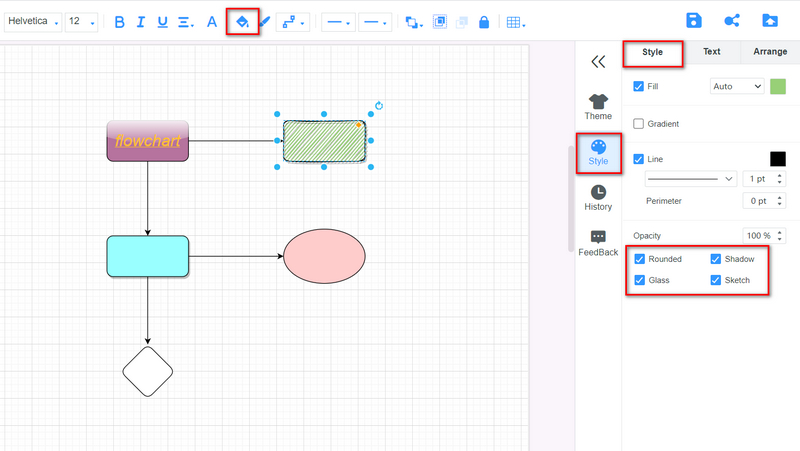
To change your shape opacity, go to the Style panel and select the Style option. You can add more effects to your shapes, including Rounded, Shadow, Glass, and Sketch.
Edit line
You can change the line waypoint by clicking the Waypoints icon. To change the starting point form of the line, you can click the Line Start icon. If you want to change the ending point form of the line, please click the Line End icon.
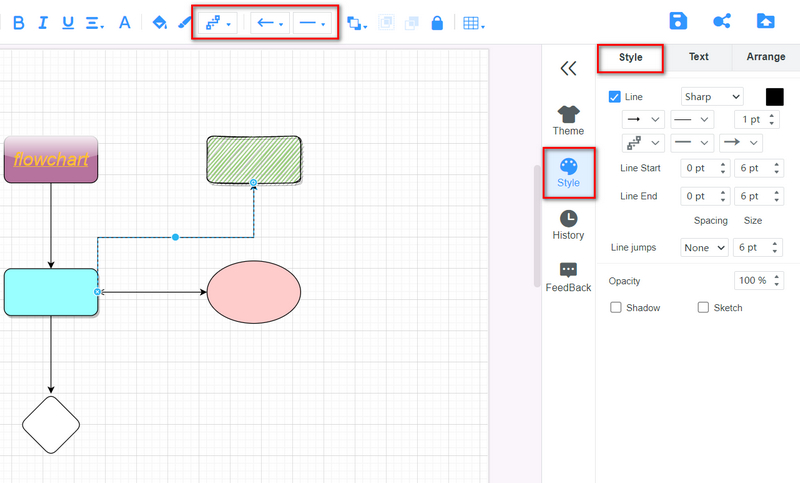
To change the line color, effect, etc., you can select the line and go to the Style panel.
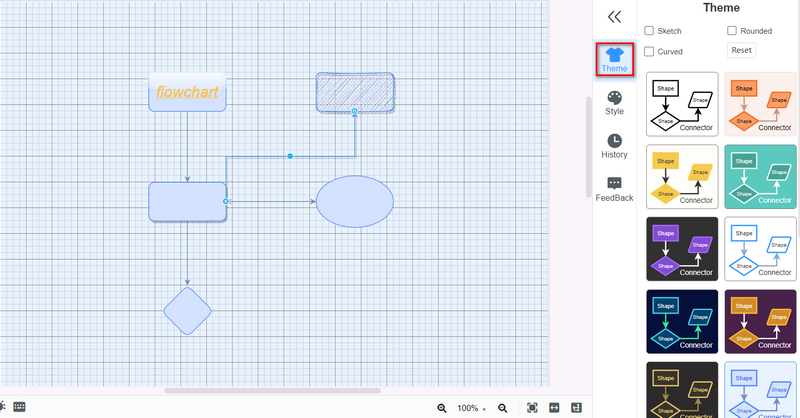
Change theme
If you do not have enough time to edit shapes and lines one by one, you can directly go to the Theme panel and select the desired one.