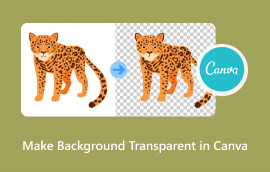
Full Details to Delete Background of Image in PowerPoint
Microsoft PowerPoint offers tons of options to create powerful presentations for various purposes. Apart from that, it provides photo editing features that users can use. One notable function is the image background remover of the software. Now, if you stumble upon a photo while creating a presentation and want to remove its background, you can do it on the tool itself. If you’re here to know how to remove background from image in PowerPoint, keep reading. Here, we’ve presented a step-by-step guide you can follow. Plus, we’ll cover the drawbacks of using it and the best alternative to try.

- Part 1. How to Remove Background from Picture in PowerPoint
- Part 2. Best Alternative Image Background Remover to PowerPoint
- Part 3. FAQs About How to Remove Background from Pictures in PowerPoint
Part 1. How to Remove Background from Picture in PowerPoint
If you have Microsoft PowerPoint with you, removing an image background will be an easy task. First, you have to know that PowerPoint offers 2 options to erase the backdrop of your photos. Here, we will discuss both of them with complete steps.
Method 1. Erase Background with Remove Background Tool
As noted above, there are tons of built-in image editing features that PowerPoint offers. One of them is the Remove Background feature. Now, it will be the first method you can use to remove background from image on PowerPoint. It is easy to use and can easily be accessed. For photos with more complicated backgrounds, it is best to use this tool. It will analyze your photo and try to eliminate the background based on the content of your image. Then, it will provide you with a transparent background. Here’s how:
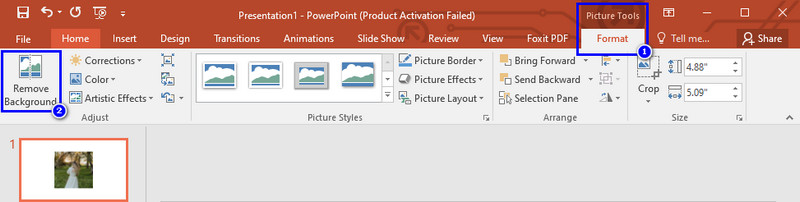
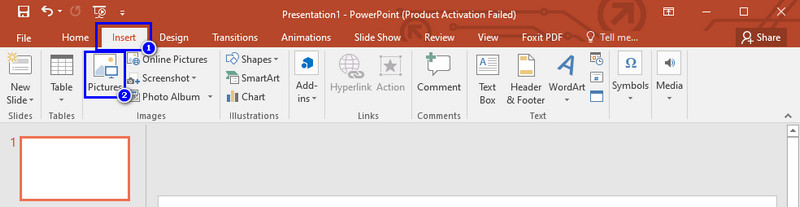
First of all, open Microsoft PowerPoint on your computer. Now, head to the Insert and choose the Pictures option to select the desired image.

After that, click your uploaded photo. Then, navigate to the Picture Tools Format. Once there, click the Remove Background option.
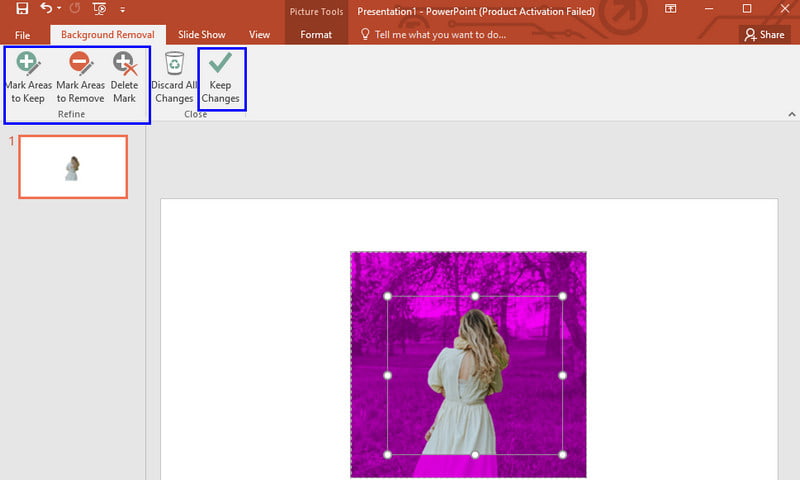
Now, the PowerPoint will automatically detect the background for you. If you’re satisfied, click the Keep Changes button. If necessary, use Background Removal tools for precise selection.
Method 2. Remove the Background Using Set Transparent Color
For photos with a simple background, there’s an easy way to erase the backdrop from images. It is through using the Set Transparent Color option. In fact, it is another fastest way to eliminate disturbing backgrounds. It is mainly helpful, especially for pictures with single and solid colors. It may include blue, black, white, and so on. But this feature requires you to use a PowerPoint or Microsoft Office 2007 or newer versions. Now, here’s how to get rid of white background on image PowerPoint or other simple backgrounds.
Launch the PowerPoint software on your computer. Import your image by heading to the Insert tab and choosing the Pictures option. Wait until it is added to your presentation.
After that, click the photo you have uploaded. Under the Picture Tools Format tab, choose the Color option. Then, select the Set Transparent Color from the menu.
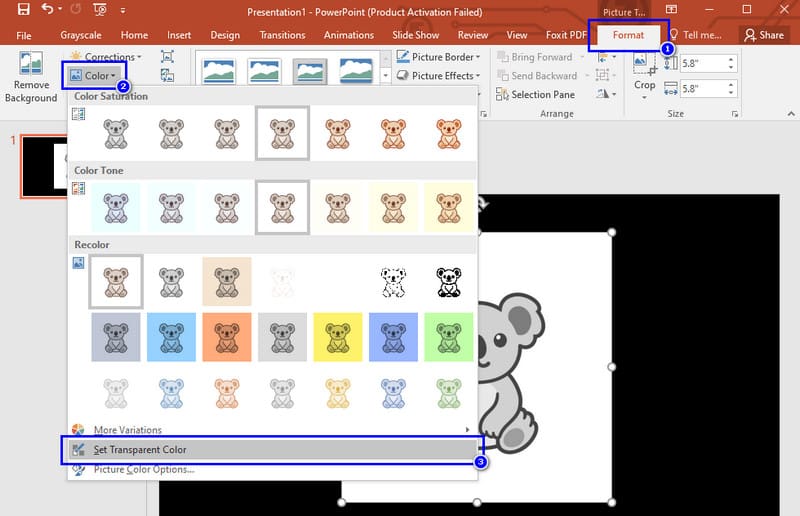
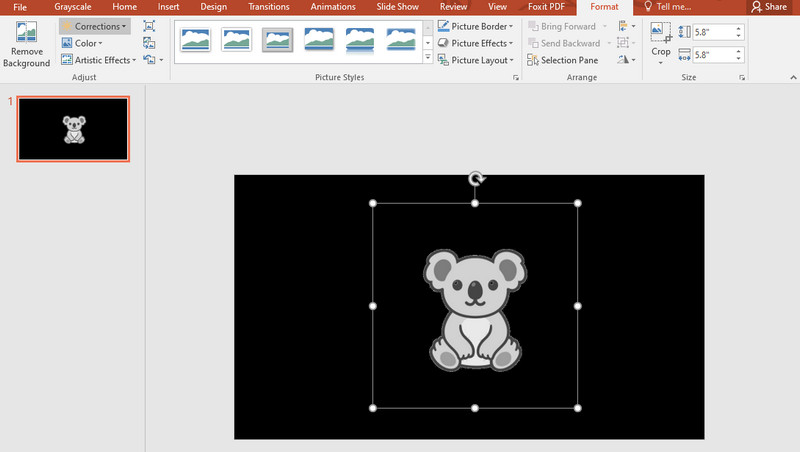
Finally, click on the background of your photo. Then, it will immediately make the backdrop of your image transparent.
PowerPoint removing background tools are truly convenient for basic editing images. Yet, they still come with certain drawbacks associated with these features. It is vital to know these limitations to make sure that the final output meets your needs. With that, here are some drawbacks:
◆ Its Remove Background tool may not always identify and remove the entire background.
◆ Both the options above do not work well with gradient images. It may struggle to distinguish between the foreground and background of the images.
◆ Another thing is when pictures have the same color on the screen. It may pose a challenge to which part of the photo must be removed or kept.
◆ The automatic background removal process may not always produce smooth edges around the subject. Hence, it can be particularly noticeable with fine details or areas.
◆ The features and capabilities of PowerPoint can vary across different versions and updates.
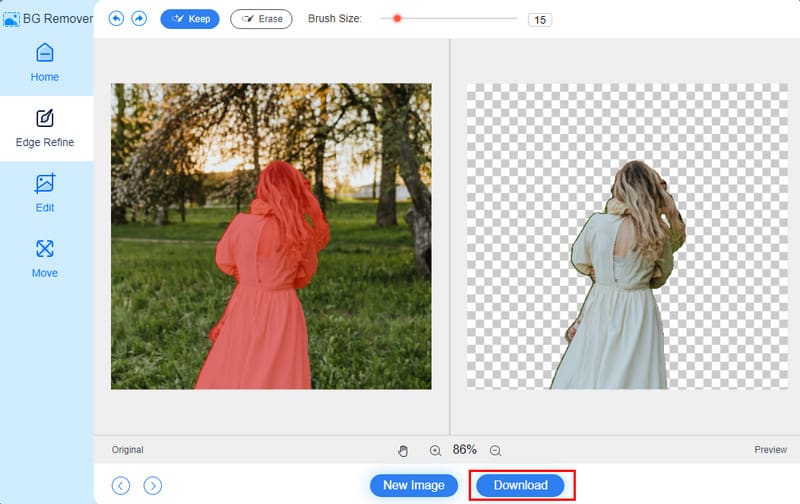
Part 2. Best Alternative Image Background Remover to PowerPoint
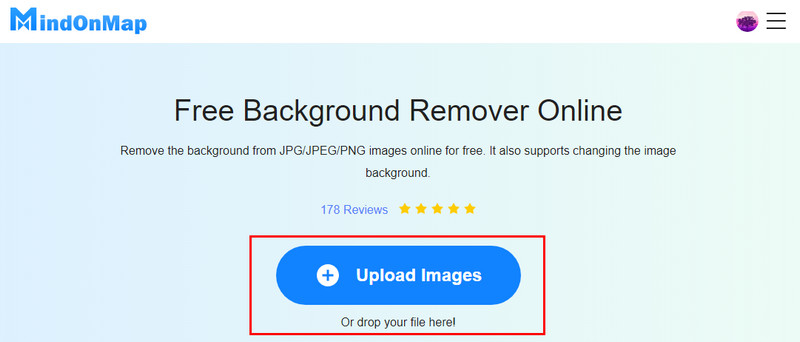
As shown above, PowerPoint indeed provides basic solutions to remove background. Yet, some might still seek more advanced features and precision for eliminating backdrops. With that, consider MindOnMap Free Background Remover Online. It stands out as a powerful web-based tool designed specifically for background removal. It also offers an alternative to traditional methods such as those found in PowerPoint. Not only that, you don’t need to subscribe or pay any cost to use it. As long as you have a stable internet connection, this tool will work. With its AI technology, it can detect and remove background immediately after selecting your photo.
What’s more, if you are not satisfied with the result, you can choose what to keep or erase from the image yourself. Finally, there will be no added watermarks from the removed image background. Plus, it maintains the original quality of your photo. Now, to know how this alternative works, follow the steps below:
First, visit the MindOnMap Free Background Remover Online official page. Then, you’ll find the Upload Images button to import your image. Or you can simply drag and drop your photo in it.
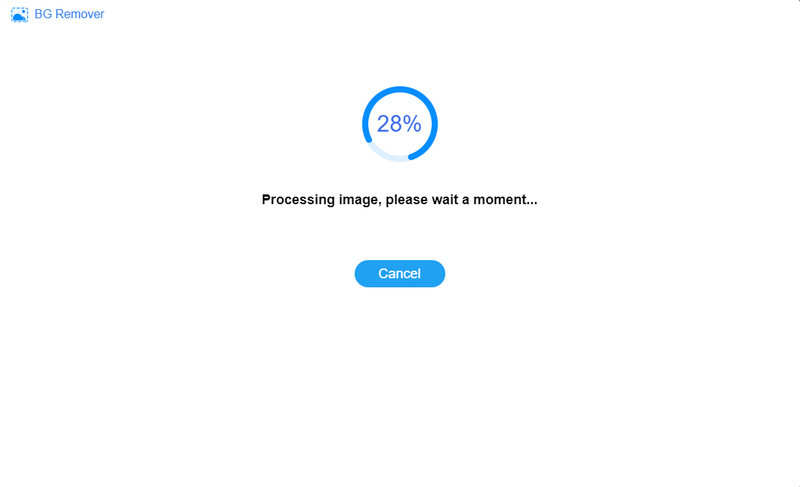
Now, the process of detecting and removing the background will begin. Wait until it is done, and you’ll have a transparent image background result.
Once the photo is ready, click the Download option to export it to your device’s local storage. And there you have it!
Further Reading
Part 3. FAQs About How to Remove Background from Pictures in PowerPoint
How do I make the background of a picture transparent in PowerPoint?
To make your photo background transparent, here’s how:
Step 1. Insert your image into the PowerPoint.
Step 2. Select the image and head to the Format tab.
Step 3. For complex images, click on Remove Background and adjust the selection. For simple backgrounds, go to Color and select Set Transparent Color.
How do I fill the background of a picture in PowerPoint?
Here’s how to fill the backdrop of your picture in PowerPoint:
Step 1. Select and upload the picture.
Step 2. Head to the Design tab and select Format Background.
Step 3. Then, choose from Solid Fill, Gradient Fill, etc., and choose your desired color.
How do I extract a background image from PowerPoint?
Once the image background is already removed, extract it from PowerPoint by right-clicking the picture. From the drop-down menu, pick the Save as Picture option. Rename it if you wish to, and choose the desired location for it. Finally, hit the Save button.
Conclusion
All in all, that’s how to remove background from picture in PowerPoint. By following the simple steps outlined in this guidepost, you can achieve your goal. Now, if you’re looking for the best alternative to PowerPoint, try MindOnMap Free Background Remover Online. With it, there’s no need to install software and pay for it. With its straightforward method, you can eliminate backgrounds in just a few seconds.