How to Make a Timeline in PowerPoint With Eases and an Alternative Tool
We are using a timeline to present the passage of time in line. A timeline is a fantastic graphic representation in showing the chronological arrangement of time. We may now understand what happened from the startup until the last occurrences through this graphic illustration. Most likely, people will use a timeline to show the data about the events in history, evolutions of a particular thing throughout the years, or it can also be to track the records or credentials of a specific citizen. In line with that, this article will give you knowledge on how to do a timeline in PowerPoint without having any complications. In addition, we will also present a great alternative to PowerPoint to make a timeline more comprehensive and accessible. Please continue as we learn more about the process of making a timeline.

- Part 1. How to Make a Timeline in PowerPoint
- Part 2. Best Alternative to PowerPoint on Making a Timeline
- Part 3. FAQs about How to Make a Timeline in PowerPoint
Part 1. How to Make a Timeline in PowerPoint
We can all agree that PowerPoint belongs to the great software we can use in creating different representations, symbols, figures, and data charts for presentation data. It possesses other valuable elements that can help us turn our figures more attention grabber and comprehensive to sight. In line with that, building a timeline in PowerPoint is also possible with ease. In this part, we will see the simple steps we need to take to create a timeline ready for your presentation. The procedure will consist of a few processes as we know every detail for creating. Please look at the instructions below as we make it more decent and professional.
Process 1: Inserting Timeline in PowerPoint
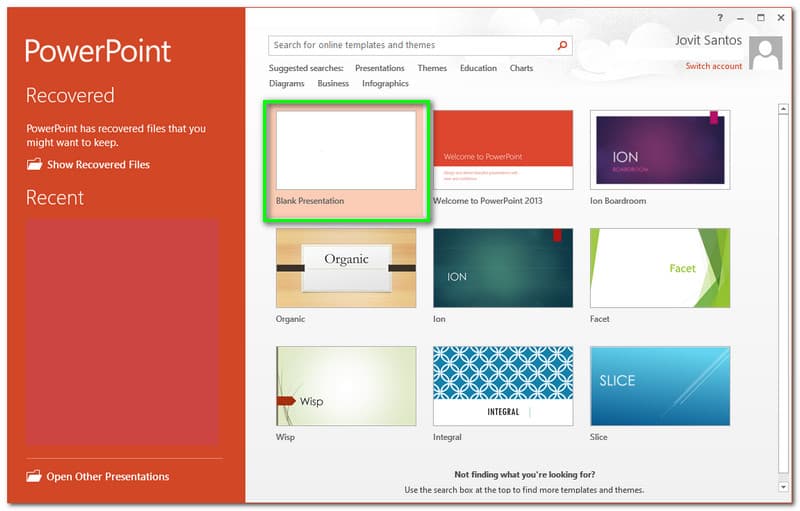
Open the PowerPoint on your Computer and see its intuitive and professional interface. Please click the Blank Presentation on the list from the main interface to begin the process.
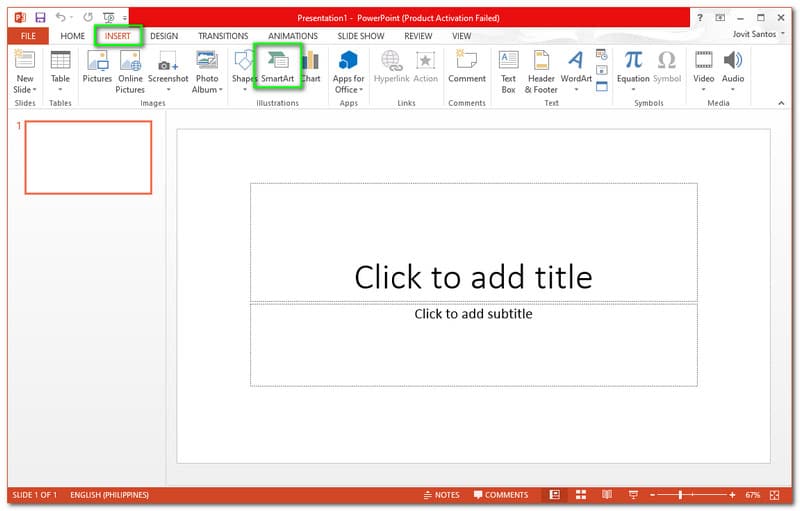
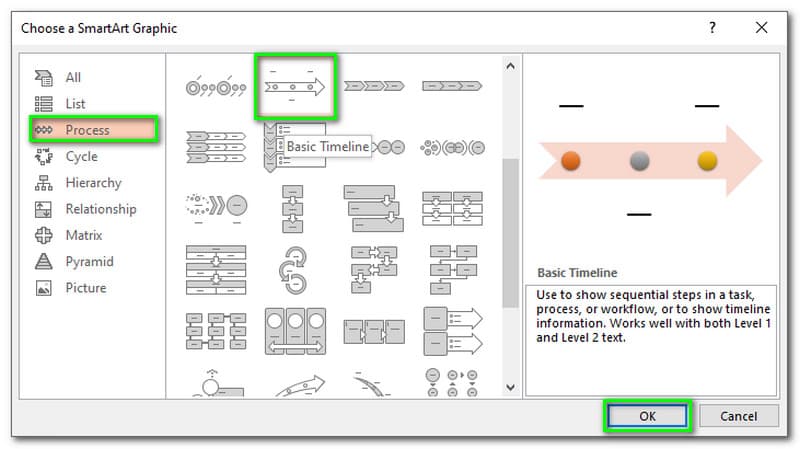
Please go to the top portion from the software's interface with a blank presentation and click on the Insert tab. Then, find the SmartArt icon feature and press it.
Now, you choose the file where you want to secure your timeline. You may also change the format on the format tab. Click on the Save button to finalize the process in the timeline maker.
We need to insert the Text we need to present for the timeline for the next step. Please click on the Insert again and press the WordArt as we add the main Text.
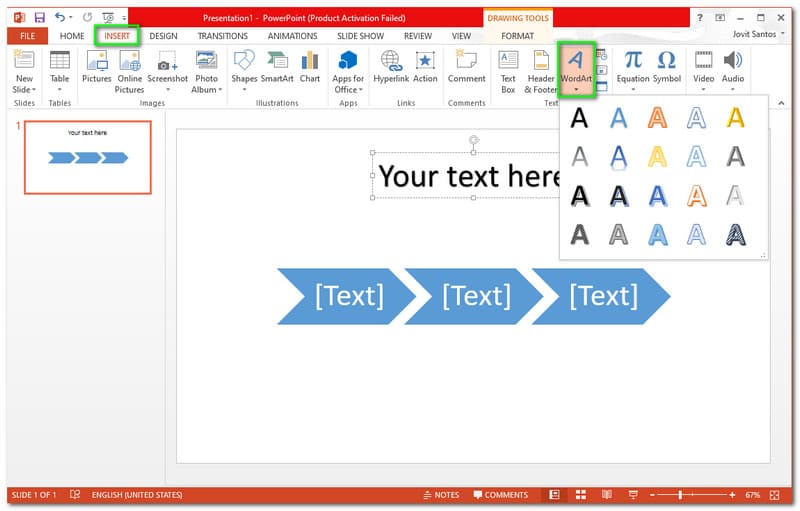
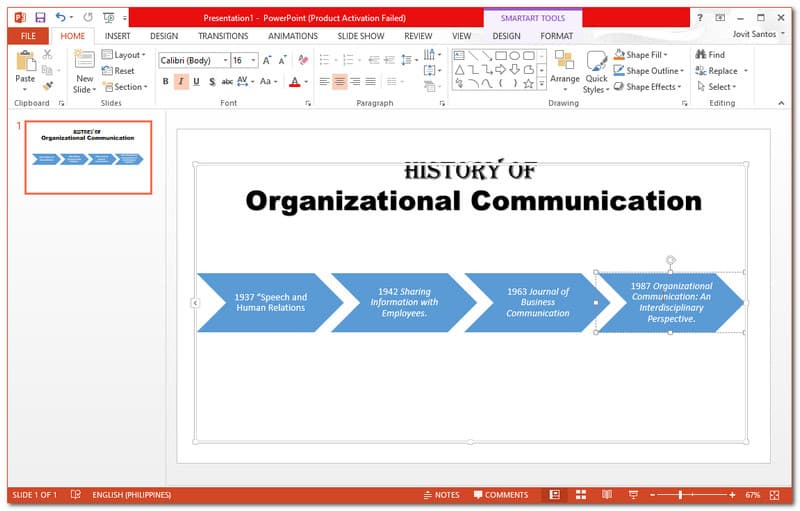
You may now add the text you need to include to make your timeline as we make it rich with substance.
Process 2: Changing the Colors
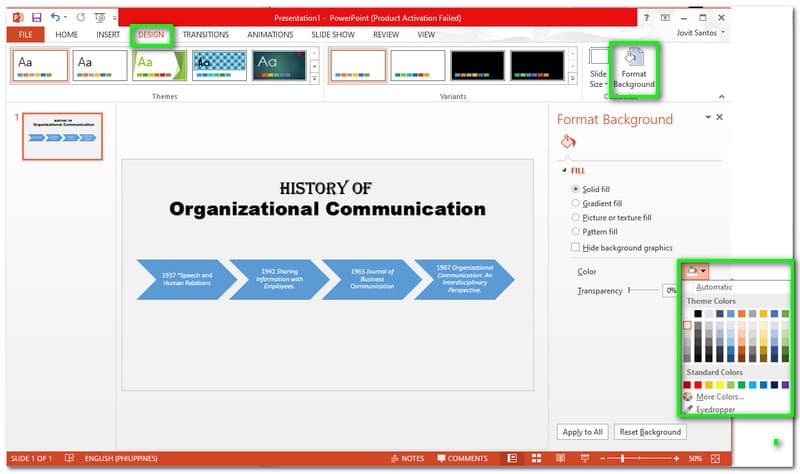
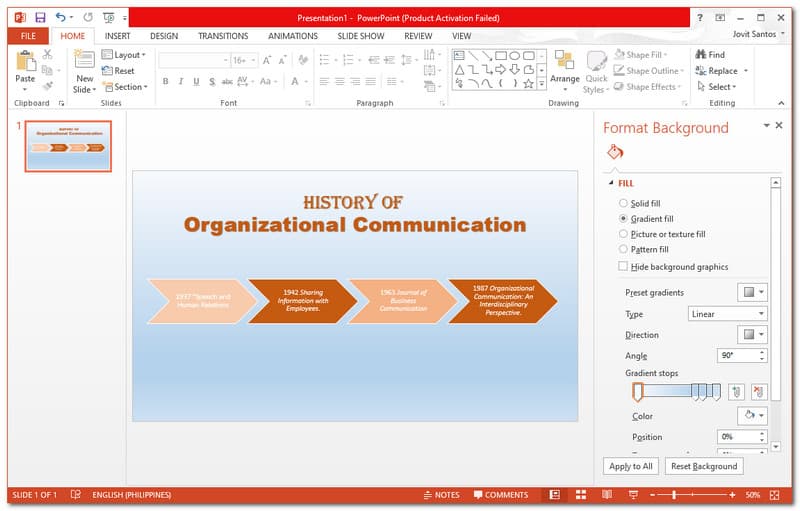
Let us modify the background color first by going to the Design tab and finding the Format Background. Then locate the Paint icon to choose the color you prefer.
Click the timeline and decimate the color you want for each cell on the same tab.
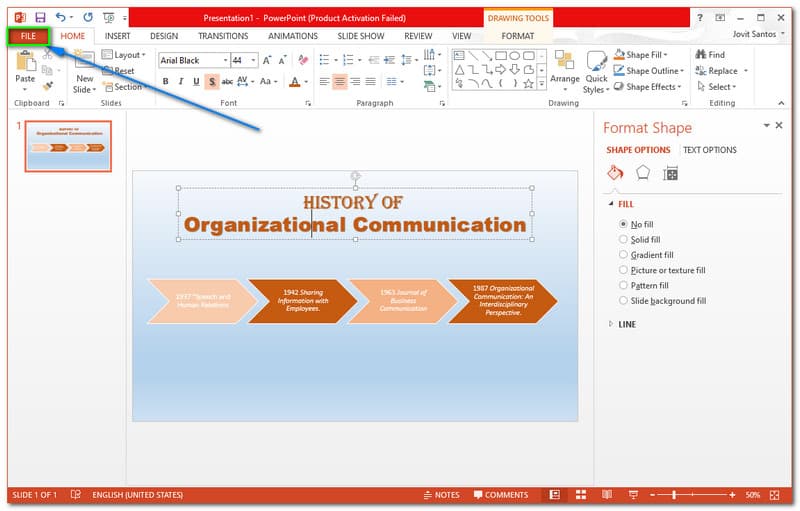
You may modify the hue of the text by clicking it and going to the Home option. From there, click the Text Color to choose colors.

Process 3: Saving the Timeline
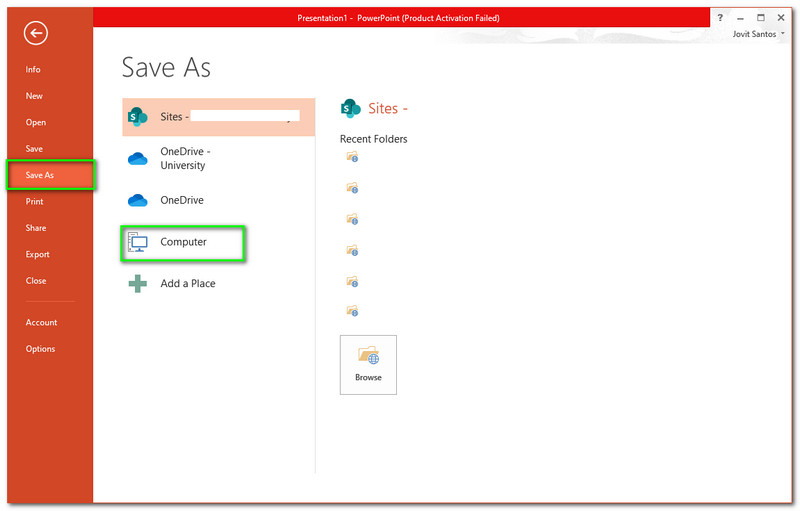
Before we save the timeline, we need to finalize the details on your timeline. If you are good to go, please click on the File tab.
From the option on the File tab, click the Save as, and place it on the Computer.
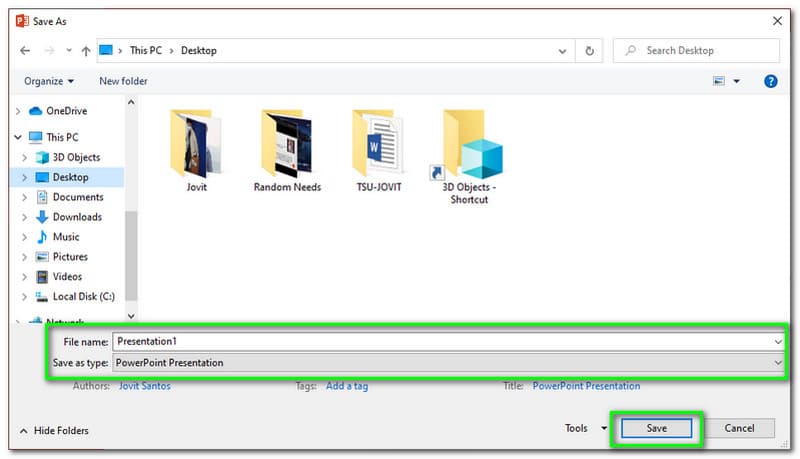
Now, you choose the file where you want to secure your timeline. You may also change the format on the format tab. Click on the Save button to finalize the process.
Part 2. Best Alternative to PowerPoint on Making a Timeline
If you think PowerPoint is a bit complicated to use and do not have the money to purchase it, we have the best alternative. We can also use MindOnMap as a medium in creating a timeline with ease. MindOnMap is an online tool that we can access using our web browser for free. Even though it is an online tool, we cannot deny its ability to offer the most beneficial elements we can use in creating a timeline. This tool is free and easy to use, which means we can now have an excellent procedure without complication; please look at the guideline below to make it possible using the great MindOnMap.
Secure Download
Secure Download
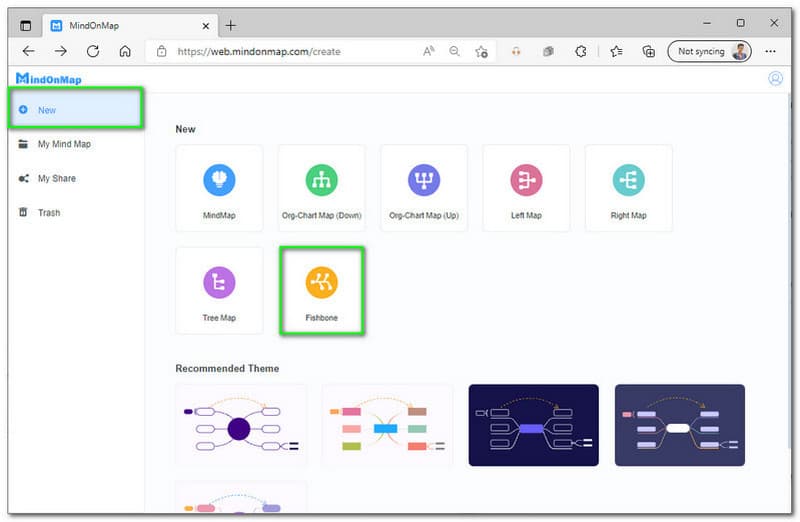
Access the official page of MindOnMap. Please click the Create Your Mind Map from the main web page at the central portion of the screen.

After that, you will now see its features and simple interface. Find the New button as we create a timeline. Choose the Fishbone on the right side of the screen.
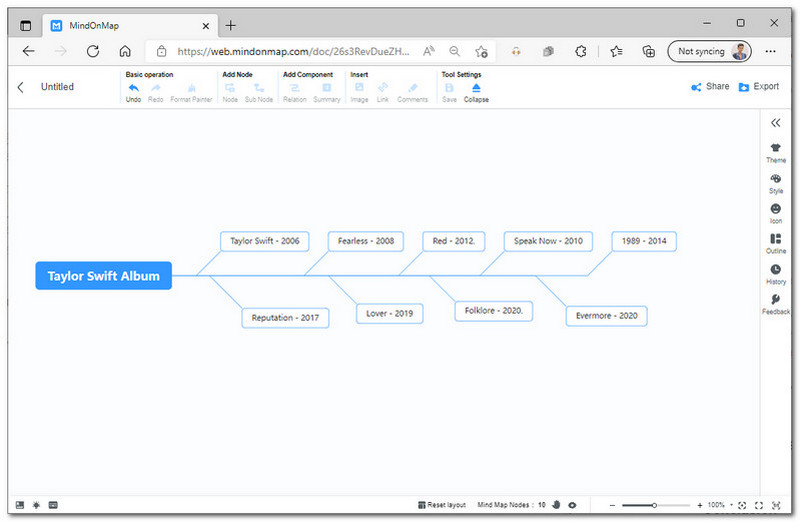
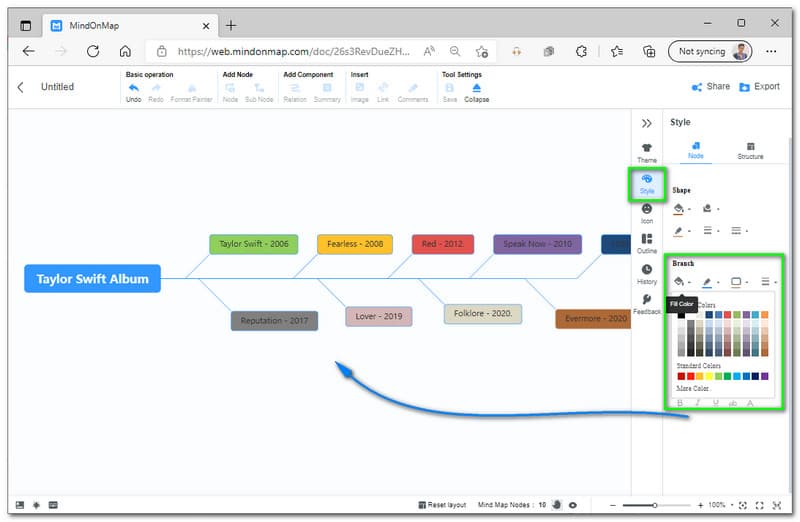
From the main editing section, click the Main Node as your starting point. Then, go to the Add Node in the upper portion of the screen. Add the number of nodes you need for your timeline. Now, go to the Style and Fill each node with color.
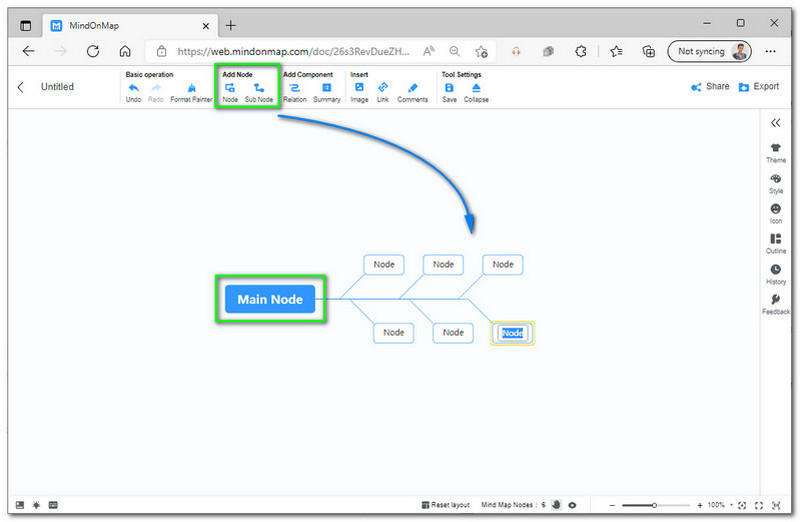
The next action we need to do is fill the node with Text for the information of our timeline.
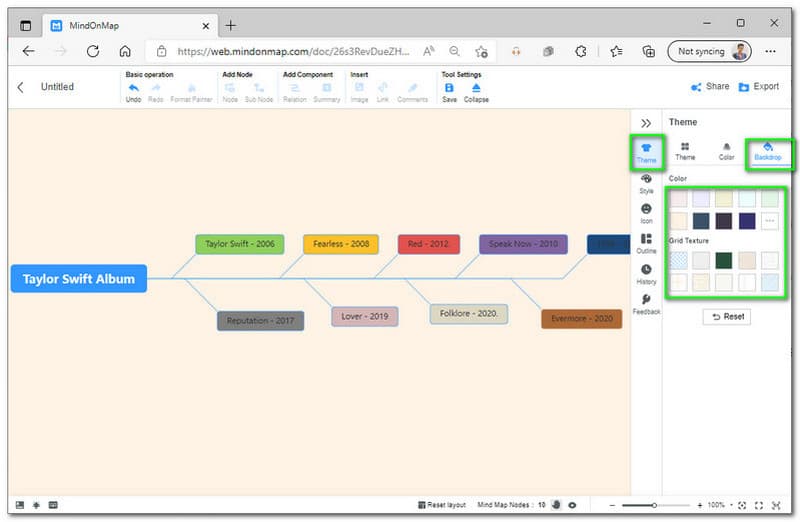
We can now modify the look of our timeline by changing the Theme and Color of the nodes. Please to the Theme, which we can see on the right side of the web page.
Let us now change the Backdrop by going to the Theme on the right corner. Please choose the color you want to see.
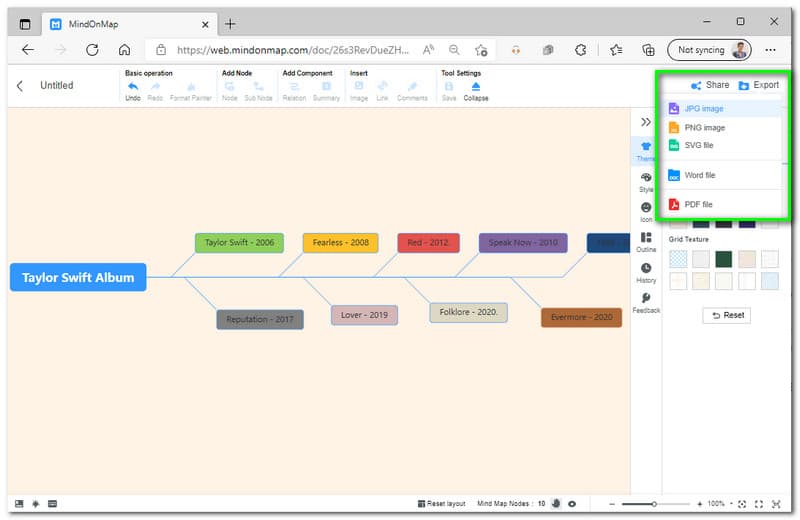
If you are done modifying your timeline, finalize as we start the saving process. On the top corner of your web, locate the Export button and choose the format you need.
Part 3. FAQs about How to Make a Timeline in PowerPoint
May I save my timeline as MP4 from PowerPoint?
Yes. PowerPoint possesses a comprehensive format for our outputs. It includes saving our timeline as MP4 by modifying it on the Save as type on the rescue process.
Can I add animation within my timeline with PowerPoint?
Yes. Adding an animation within our timeline using PowerPoint is possible. You need to find the Animation tab on the top corner of the interface. Choose your animation to add to your timeline.
Does PowerPoint offer a timeline template?
PowerPoint does have numerous templates for timelines. These templates are possible to adjust manually for a better outcome. You only need to go on the Insert tab and find the SmartArt.
Conclusion
Creating a timeline in PowerPoint is nice to do, as long as you have the right step and instructions. You can make a comprehensive timeline with ease. In addition, we can also see how effective the MindOnMap tool is in making the process more bearable. We hope this is a great help for you. Please share this with other users who need it too.