Detailed Guide on How to Make a Fishbone Diagram in Visio
Do you have problems with your system processes? That is where a fishbone diagram comes into play. It is a visual representation for exploring the potential root causes of a problem. At the end of your team’s brainstorming session, you have to produce an effective solution to the problem. That is also the goal of this diagram. On the other hand, this visual tool is known as a cause and effect diagram.
It is one of the most sought-after diagram makers to help you create fishbone diagrams in Visio. That said, this article explains the process how to make a fishbone diagram in Visio. Without further ado, check out the tutorial below and learn to make this cause-and-effect diagram.

- Part 1. How to Create a Fishbone Diagram with the Best Visio Alternative
- Part 2. How to Create a Fishbone Diagram in Visio
- Part 3. FAQs About Fishbone Diagram
Part 1. How to Create a Fishbone Diagram with the Best Visio Alternative
Although Microsoft Visio is a dedicated tool for creating diagrams like fishbone diagrams, it is best, to begin with, a free diagram maker, like MindOnMap. It is an online flowchart and diagram maker for process modeling and flowchart making. This program can help you create professional-looking diagrams with high efficiency and minimal effort. Furthermore, users do not have to be an artist to create diagrams.
MindOnMap offers themes to help you style your diagrams with coherent and stylish designs. Not to mention, users could customize every branch’s fill color, font style, etc. You could also apply color categories, making the map easy to understand. Aside from that, presenting it with a good backdrop will impress your spectators. Hence, the tool allows you to change backdrops with many choices. Follow the tutorial to use this alternative to Microsoft Visio for fishbone diagram making.
Secure Download
Secure Download
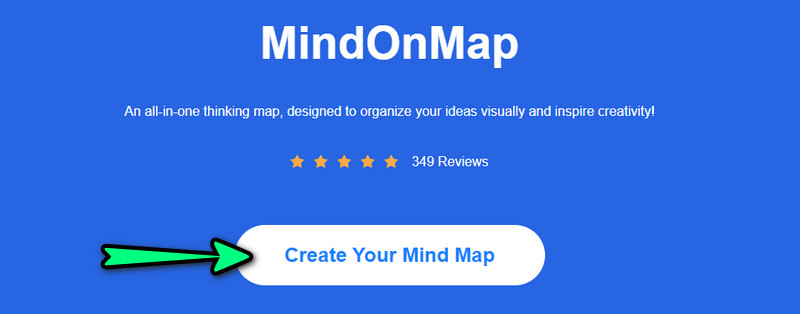
Get to the program’s page
Before anything else, please get to the program’s page to access it. To get to its official website, type its link on the browser's address bar. Click the Create Your Mind Map button and log in with your existing email account to access the program’s full service.
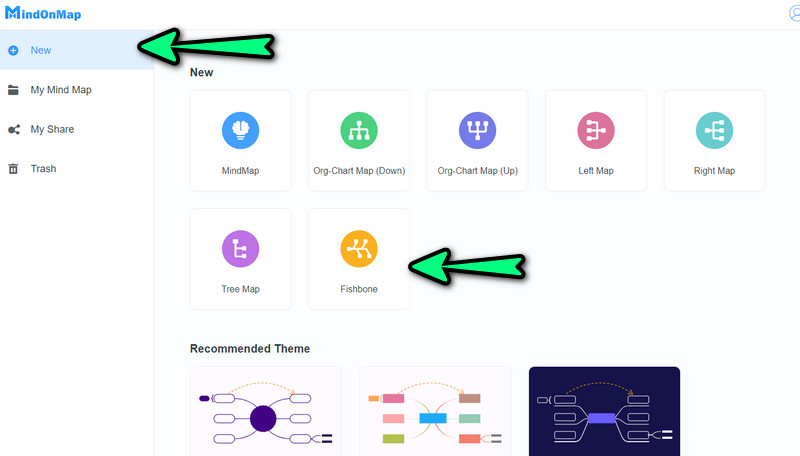
Select a diagram layout
On the next page, you will see various themes and diagram layouts. Hit New on the left side panel and choose Fishbone. Alternatively, you can get started using a theme. After that, you should arrive at the editing panel of the tool.
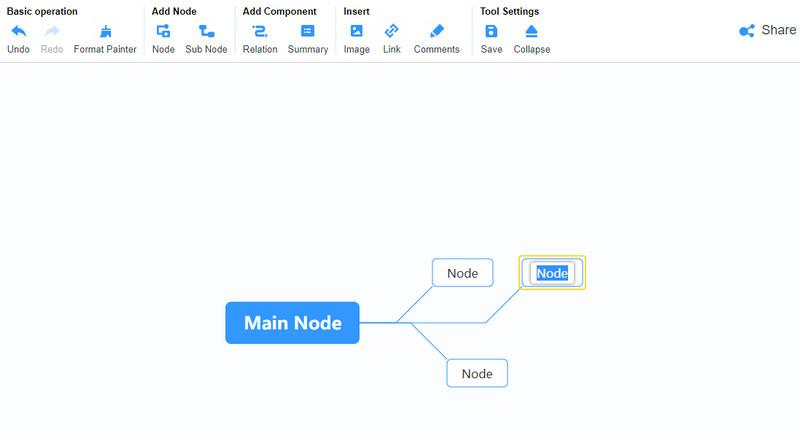
Start creating a fishbone diagram
You will have one central node at the start, select it and press Tab on your computer keyboard to add branches representing the causes in your fishbone diagram. You can also hit the Node button on the top menu. Do not forget to do the first step, selecting the main node. As you add nodes, you can immediately key in the text or information you need to insert.
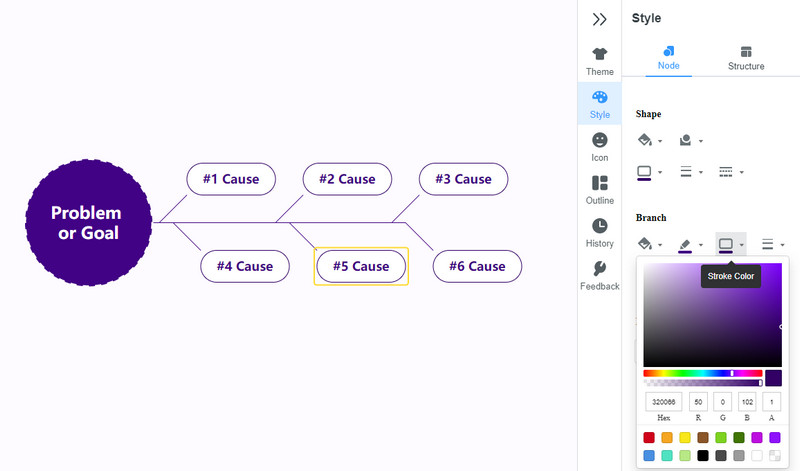
Personalize the diagram
After adding the necessary information and nodes, you can proceed with customizing your diagram. Click on the Style option on the right-side panel. You can edit the fill color, shape, stroke color, etc. Also, you can edit the appearance of the text’s font style, and color, or justify the text.
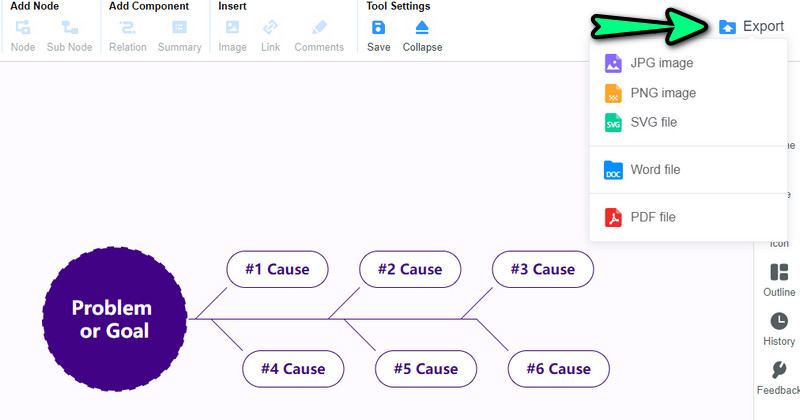
Export the fishbone diagram
Finally, click the Export button on the top right corner of the interface. Here you will see various formats. Select one, and the diagram will be downloaded automatically. You can preview the output from your Download folder.
Part 2. How to Create a Fishbone Diagram in Visio
Microsoft Visio is a professional flowchart and diagram maker ideal for business teams when brainstorming and creating process models. This tool offers a broad collection of stencils, shapes, and customization options. The fishbone diagram creator also offers various pre-made designs to help you style your diagrams quickly. In addition to that, you have access to over its hundred templates covering different models and diagrams.
The automatic alignment and position make the program gives users a better experience of the program. This feature makes the shapes line up straight. Additionally, the spaces between shapes are even, making the diagram pleasing and professional-looking. Learn how Visio fishbone diagrams are made as we demonstrate the process below.
Get the program
First and foremost, download the program from its official page. After successfully downloading the program, install and launch it on your computer.
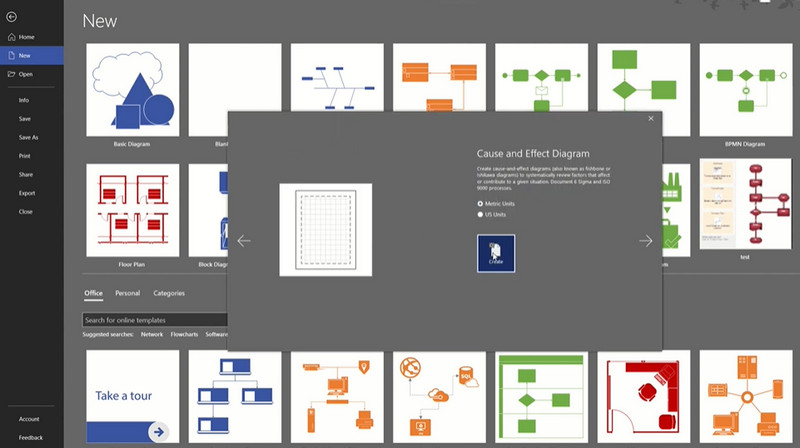
Select a template
From the program's main interface, go to the New section and you will see different templates to choose from. Now, choose the Cause and Effect Diagram template. After that, a dialog box will appear. From here, hit the Create button to enter the canvas editor.
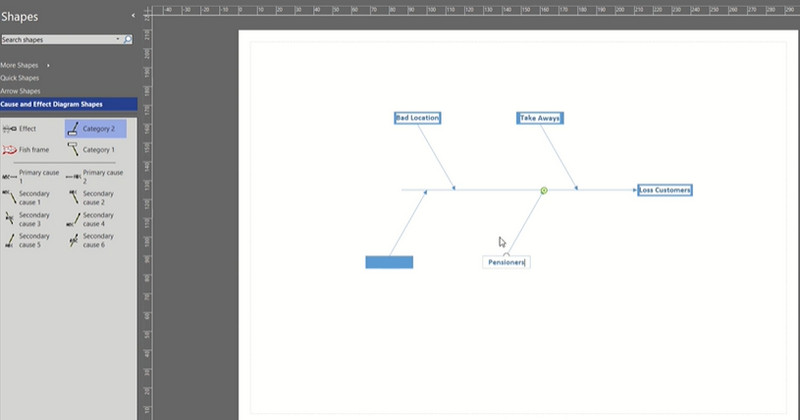
Start creating a fishbone diagram
Afterward, you will be presented with a blank fishbone diagram that you can edit immediately. Next, double-click on each node and enter the information you want to add. You can add more elements to the diagram from the stencils on the left side panel.
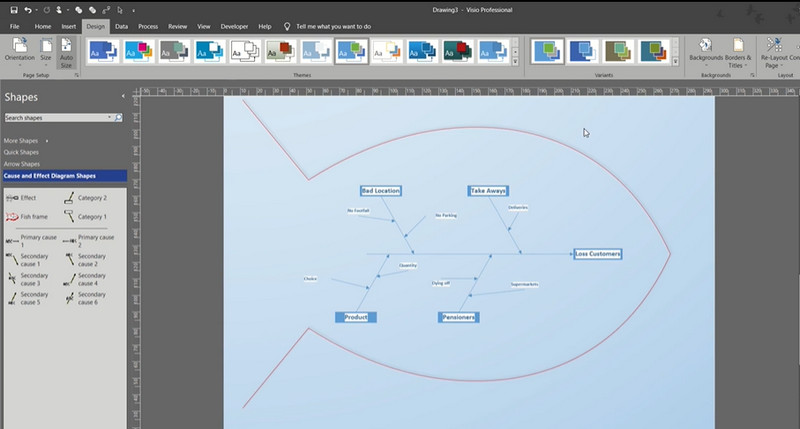
Customize the diagram
Once done adding the necessary shapes and texts, you can now customize it. You may add a fish-like shape. You could also access the Design tab. From here, you can alter the look and feel of your diagram.
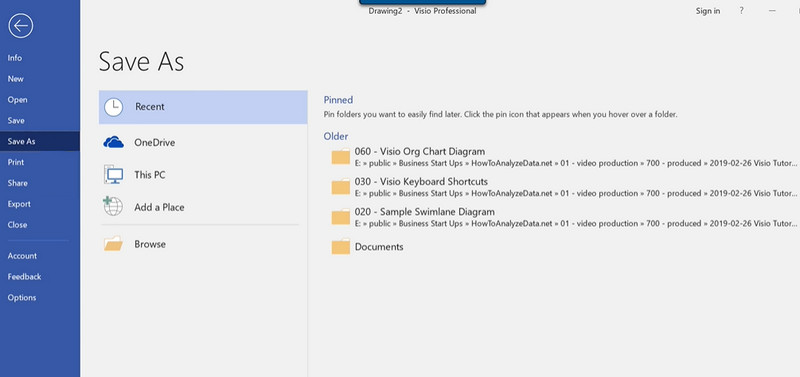
Save the diagram
If you are already pleased and delighted with your diagram, go to the File > Save As. Finally, select a saving path to download it on your computer. That is how you create a fishbone diagram in Visio.
Further Reading
Part 3. FAQs About Fishbone Diagram
What is the importance of a fishbone diagram in solving problems?
The main purpose of a fishbone diagram is to analyze and diagnose the problem and its potential causes. But, rather than concentrating on the problems, it aims to generate solutions to address the issues.
How to optimize a fishbone diagram?
You could determine the major categories first. Also, it will greatly help to brainstorm the possible causes as much as possible. More importantly, organize your think tank by paving the way for collective wisdom instead of racking your brain.
What is 6Ms in a fishbone diagram?
It has to do with the manufacturing world—the 6Ms stand for man, method, machine, material, measurement, and mother nature. Like in a fish, these six will be the main bones of your fishbone diagram.
Conclusion
That is it! You just learned how to make a fishbone diagram in Visio. Creating a fishbone diagram is easy, especially when you have the right tool. Yet, as we mentioned earlier, it is best to start with a free online tool, like MindOnMap. That is true when you do not have experience in making diagrams. More so, you would probably choose it over Visio due to the price offered by this program.